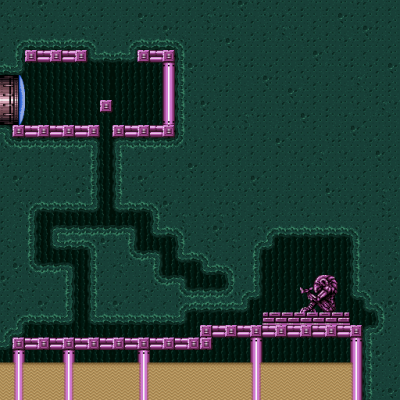
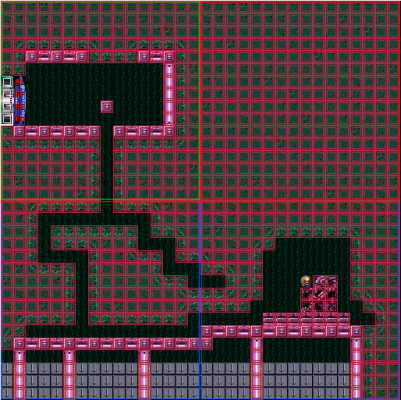
Spring Ball Room
| Spring Ball Room | |||
|---|---|---|---|
| Zone | Maridia | ||
| Subzone | Maridia/Green | ||
| Items |
| ||
| Shaktool Room | Adjacent rooms | |
|---|---|---|
Suitless Collection
The bottom of this room has two-tile high vertical shafts. This makes suitless collection difficult (without already having Spring Ball, like in a randomizer).
This can be done with X-Ray, and is required in puzzles or certain category extensions (perhaps most obviously max% suitless). This requires: Using X-Ray to force a stand, clipping into the ground slightly, holding Angle Up or Down before jumping, jumping, releasing Angle Up/Down (can be done the frame before jump is pressed), and then Morphing. The mid-air morph is extremely tight. Here is an example clip:
Note this only has to be done once, since the second one you can do a much easier ledge graph as opposed to the mid-air morph. Also the holding Angle Up/Down is needed, since usually a crouch jump gives Samus 8 extra pixels of height: You don't get this extra height if Angle Up/Down is held. This first jump is usually called an R-jump.
The hardest part of this strategy is the mid-air morph. There is about a 5 frame window (dependent on when Angle Up/Down is released) to press down twice. You can be holding down (as in the above clip), which simplifies the inputs slightly: You have a 4 frame window to release and re-grab down.
This can be simplified further, by making all of the down inputs buffered, by using a pause:
This greatly simplifies the inputs needed, removing any need for fast down inputs.
As a final note, escaping the room itself requires either Hi-Jump (for a mid-air spring ball jump), Space Jump (for a very tight mid-air morph at the top of the tall vertical shaft), or Bombs (by doing a double mid-air spring ball jump). This last option means it is technically always possible to escape (in the vanilla game), although this trick is also incredibly tight:
Low% Map Completion
Collecting the map tiles suitless can be done by going down the path that does not lead to the item. If suitless, escape still requires going up a two tile high vertical shaft. As discussed above, this requires precise inputs that include a forced stand.
Since it only has to be done once, this forced stand can be done with a Crystal Flash instead of X-Ray.
As remarked above, the tall vertical shaft must still be escaped from. This requires Spring Ball (with Hi-Jump or Bombs), Space Jump, or Gravity Suit (which trivializes the room). This clip shows both using a Crystal Flash for the forced stand, and escaping with Space Jump:
Note the buffered pause strat should also be done here. Also note while escaping with Space Jump, the water level is moving and it is important to pay attention to it. You want your mid-air morph to be lined up with the water level in some sense, note how there is no "splah animation". It is done, perhaps unituitively, when the water level is very high.

