Main Street
| Main Street | |||
|---|---|---|---|
| Zone | Maridia | ||
| Subzone | Maridia/West | ||
| Items |
| ||
| Adjacent rooms | Mt. Everest Fish Tank Crab Tunnel | |
|---|---|---|
| Glass Tunnel |
Contents
100%
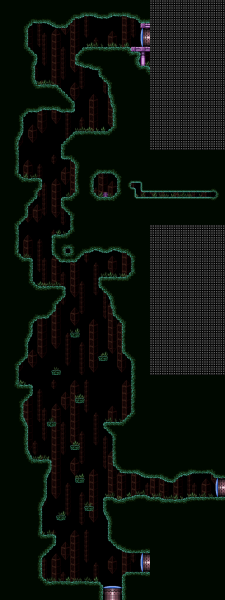
To get the missile pack, the optimal shinespark is along the floor, but this is a very difficult short charge, requiring a stutter-3, or a 4-tap.
Slightly slower is to go up to the platform with the door to Fish Tank, and do a 2-tap. A 1-tap will also work, but the spark would need to be charged very late on the platform, so a 2-tap would be more comfortable for most runners.
The spark can be lined up using either the 3-leaf plant on the ground, or by brushing up against the right side of the bottom-left floating platform.
Without short charging, this requires starting a charge in Crab Tunnel, but many people find this more difficult than the 2-tap on the platform above, because of the door transition being in the middle of the maneuver.
Suitless (Ice Beam only)
Principles
It is entirely possible to climb from the bottom of Main Street all the way to the Mt. Everest door with nothing but Ice Beam. The Ice Beam only climb is about extensively manipulating enemies and freezing them to use them as platforms, a tactic called Enemy Climbing. The climb is very difficult, and failing any jump can be very punishing, so using emulator features like slowdown and save states while learning is recommended.
For this climb, it's important that the player brings Super Missiles, as these are necessary for the first jump and they make managing the Scisers much easier. If a Super Missile impacts a wall, all unfrozen Scisers will be knocked off of any walls or ceilings, and will fall down until they land on solid ground.
Before beginning, it's important to note that enemies which are far enough off screen will exit Samus' reality bubble and cease to exist. This is very useful, because unloaded enemies will stop moving. If enemies could move off screen, then you'd be racing against the clock to get up before all the Scisers move out of position, but because they wait for you, you have plenty of time to climb up the room. The one enemy you do have to be careful about is the Sciser you get your first jump off of, as you'll need to bring it to the bottleneck to platform off of it, and if it gets too far ahead it will get past the bottleneck and become unusable.
The First Ledge
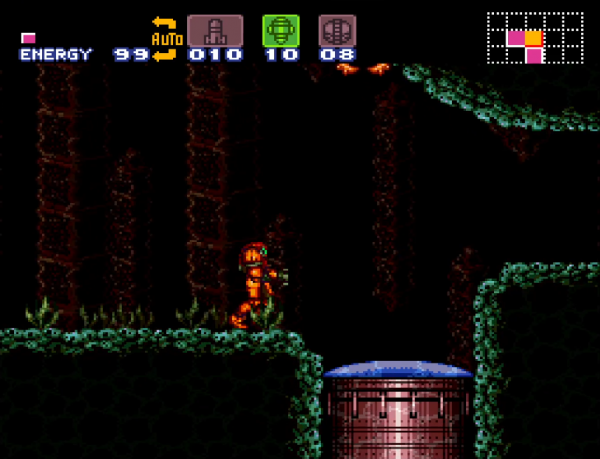
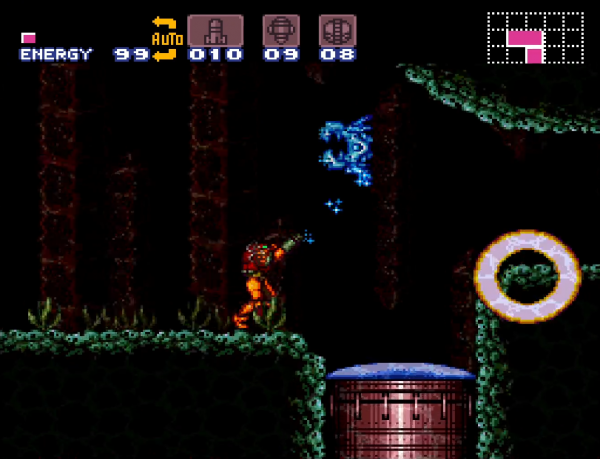
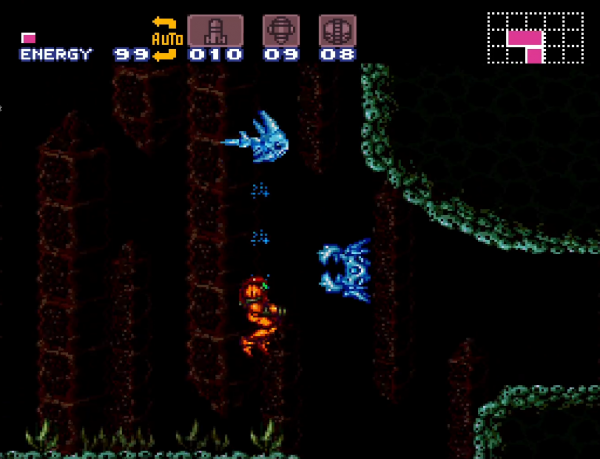
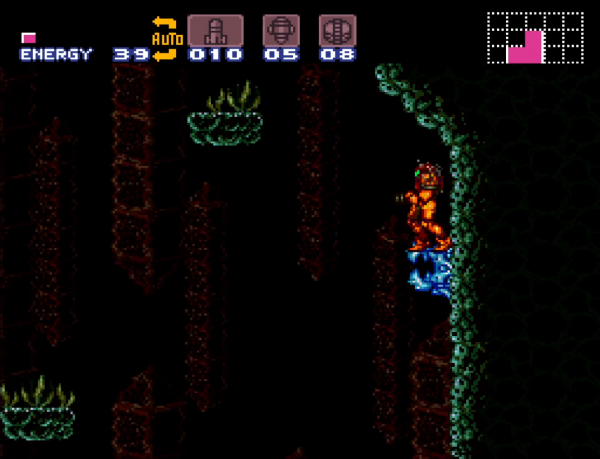
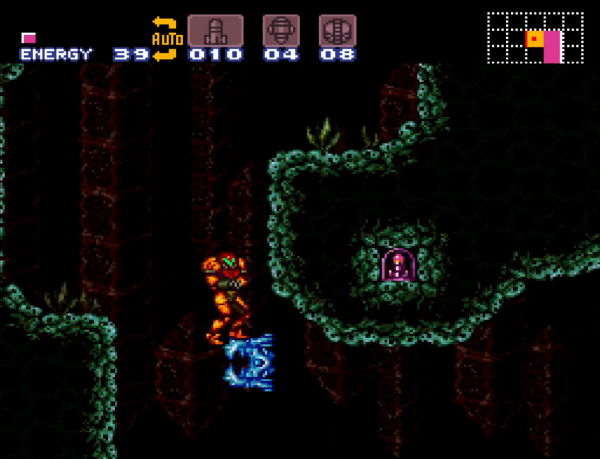
Upon entering the room from the Glass Tunnel door, there will be a Sciser on the ground to your left and a Skultera swimming back and forth above you. It's necessary to freeze both to get up to the first ledge. First, you need to shoot the Sciser and the Skultera until they are a single shot away from being frozen. With just Ice Beam, the Skultera will be frozen after being shot 10 times, and the Sciser will be frozen after 7 shots, so you need to shoot them 9 and 6 times respectively so that they will be frozen immediately the next time you shoot them. This will be necessary for all the other enemies in this room that you need to freeze.
Next, it's necessary to manipulate the Skultera's direction. This is pretty easy to do - when you're standing on the ground at the bottom of the room, the Skultera will just barely leave the top of Samus' reality bubble at a specific point in its movement cycle. You can reload it by jumping, and doing so will allow it to continue with the rest of its cycle until it hits that point again. You want it to deload while it's swimming right, as we want to freeze it close to the right wall. If it deloads as it's swimming left, just jump once to load it again. It's only outside of Samus' reality bubble at that specific point, so it only needs a moment before it can carry out the rest of the cycle on its own. Deloading the Skultera isn't strictly necessary, but it ensures a consistent position for at least one of the enemies, and it means that you only have to manage the Sciser, since the Skultera will already be in a decent position. Stay on the ground until you're ready to load it again.
While this is happening, the Sciser will be crawling right, and will eventually start scaling up to the right wall. If you didn't hit the Sciser enough times on its journey up, you can wait for it to climb further up and shoot it diagonally. Avoid jumping unless you need to, as jumping brings the Skultera out of position. If you need more time, freeze it with Ice Beam, and if it gets too far up, you can knock it back down with a Super Missile and try again. Once everything is ready, you can attempt the first enemy climb. This one is one of the two hardest climbs in the room, so it takes a bit of practice.
First, position yourself at the bottom of the room, just a bit to the left of the door. Exact position isn't too important.
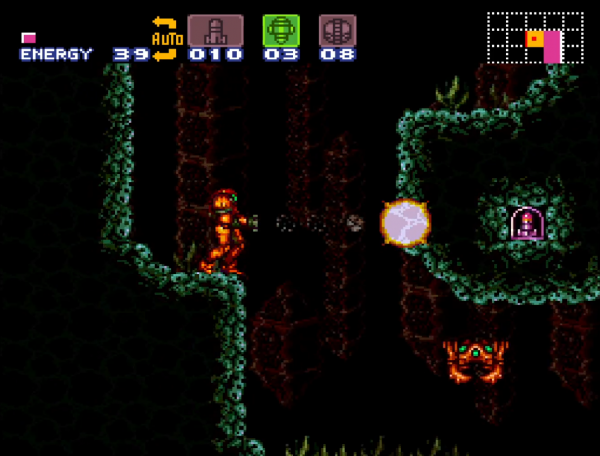
When the Sciser is just about to round the corner and crawl offscreen, shoot a Super Missile at the wall in front of you, deselect supers, and shoot it in midair with Ice Beam to freeze it.
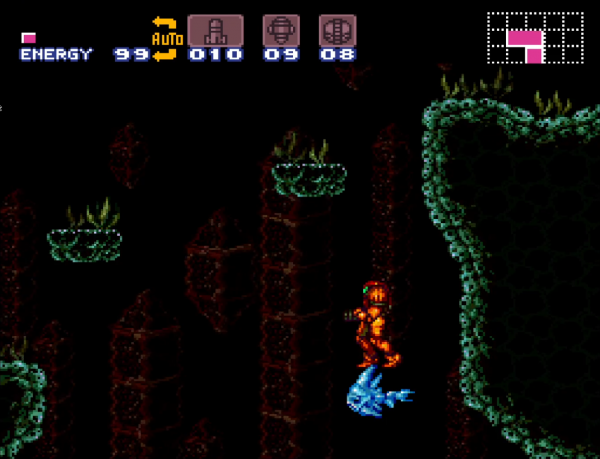
Freezing the Sciser at the right height is quite tricky. I prefer to freeze it a bit high and use the ledge at the right to jump up to it, but if you get the positions right for the Sciser and the Skultera you can climb up both from the ground using a crouch jump and a ledge grab. After freezing the Sciser, jump and shoot straight up - this will freeze the Skultera.
Now spin jump to the ledge on the right, spin jump back off of it and onto the frozen Sciser, and do a crouch jump to the right of the Skultera and ledge grab onto it.
This next part is tricky. You need to get to the ledge at the left of the screen, but there's a floating platform in the way. It's too high to get onto the platform, but not high enough that you can just pass under it. Do a running spin jump to the left off of the Skultera. When you're at the apex of your jump, which will be a bit before you run into the platform, you need to morph and unmorph as quickly as possible. Doing this cancels your downwards momentum, giving you more air time. You need this air time desperately to get onto the ledge. Next, you need to do a downback to get onto the ledge, as this is the only way to get sufficient speed while also making your hitbox short enough to actually reach the ledge. The timing for both of these maneuvers is pretty strict, and if you take too long you'll lose too much height to make the ledge. You need to stop holding back immediately after you land on the ledge or you'll walk back off the edge and be sent back to square one. I recommend making a save state on top of the Skultera while learning this trick, as you may need quite a few attempts to get this part down.
The Climb
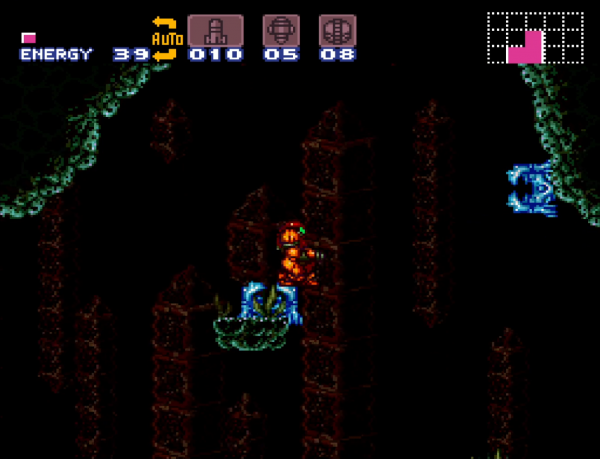
Next, you need to climb the platforms until you get to the Fish Tank ledge. You can make the jump up to the first platform with a crouch jump into a ledge grab, but the next two only need ordinary spin jumps.
Now you need to jump back to the left. There will be a single platform with a Sciser on it. To make the jump easy, you should either freeze the Sciser on the platform as it's rounding the bottom right corner and jump on top of it, or you can freeze the Sciser from the first jump (which should have crawled up the right wall by now) and jump on top of it, or both. You can freeze the Sciser on the platform and jump off of it again to reach the ledge on the left. Alternatively, if you kill that Sciser or if it isn't in a good position, you can also crouch jump into a ledge grab and just barely make it without a height boost.
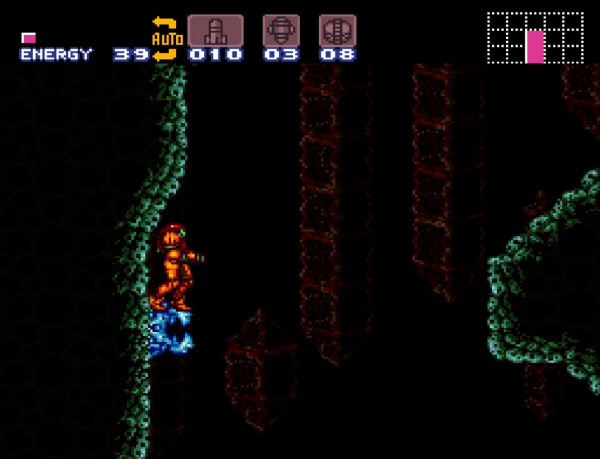
Next, take an easy spin jump to the platform to your right. You'll be greeted with this sight.
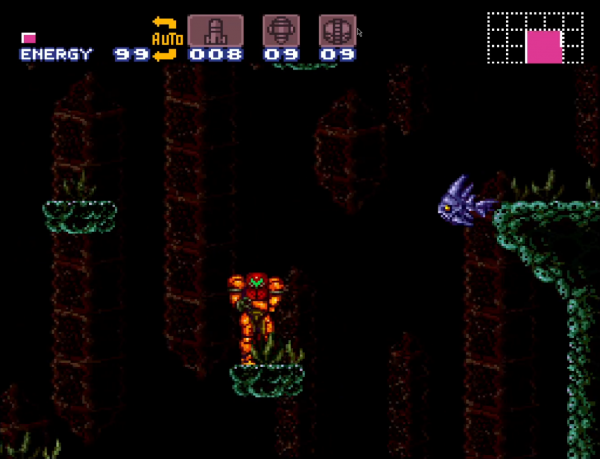
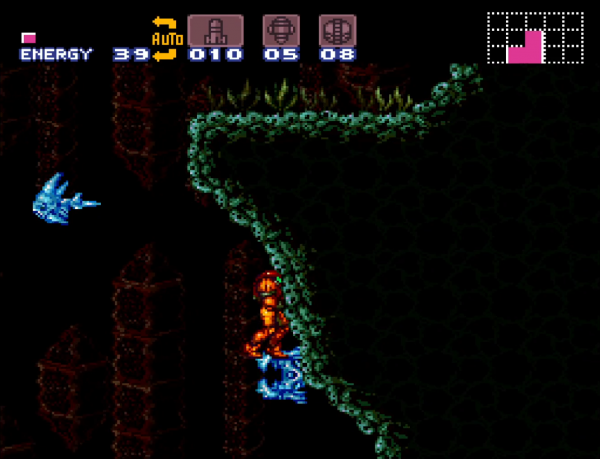
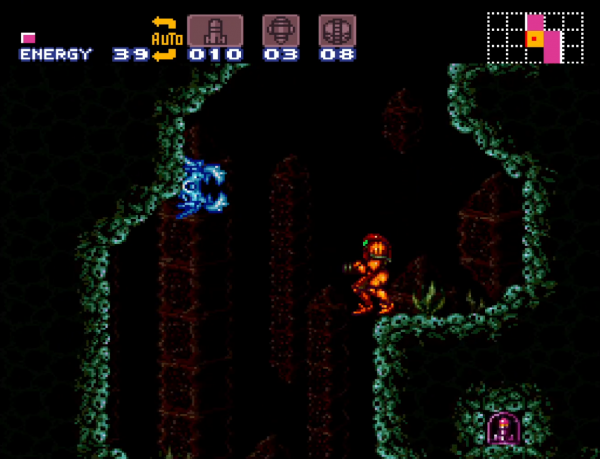
The fastest and easiest way to get up to the platform on the left is with some under water wall jumps. Freeze the Skultera about 1 block from the platform and UWJ between them to get up quickly.
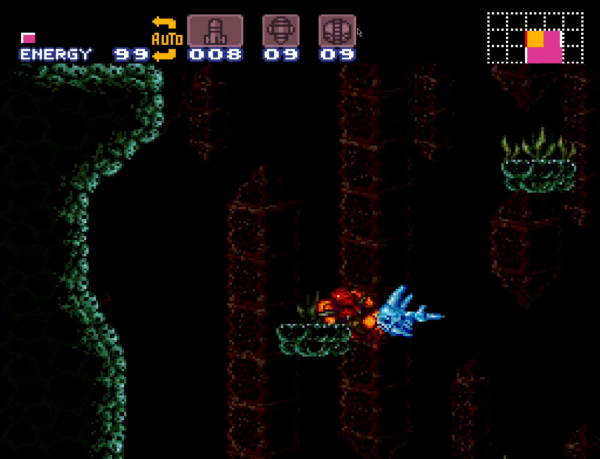
From there, just re-freeze the Skultera and jump off of it to the next platform. At this point, you can do a similar strat with the next platform, but it's a bit trickier and not necessary. It's easier to jump to the right wall and use that first Sciser again to climb up. If it's too far up, knock it down with a Super Missile. Freeze it once it starts climbing up the wall again and hop on top. As it's about to unfreeze, crouch jump, let it crawl a bit further up, and freeze it again before you land. Once you make it far enough up the wall like this, there's a platform to your left, and you can get up to it from this position if you do a crouch jump and a ledge grab.
The Bottleneck
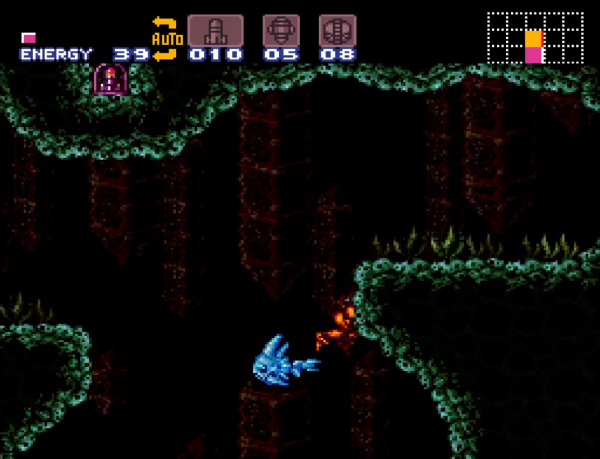
Now, you're at the hardest part of the Main Street climb (in my opinion): the bottleneck. The challenge comes from managing the three enemies - the Sciser on the middle platform, the one on the right wall, and the Skultera, as you need all three to make it up easily. Try to keep the Sciser on the right wall frozen as much as possible while you weaken the other two enemies. Remember - if it makes it over the lip, there's no getting it back, and you'll have to start the process all over. If things get really dire, knock it down with a Super Missile. It will fall onto a platform below. Knock it down again and you'll be able to climb it up the right wall again. Make sure to freeze the Sciser on the middle platform first so you don't knock it down too.
Next, you need to get everything into position. Freeze the middle platform Sciser while it's on top so you can jump off it, freeze the right Sciser far up the right wall, but not so far that you can't reach it, and freeze the Skultera so it doesn't interrupt you (it can hit you while you're standing on the right wall Sciser - you can crouch or morph to avoid this).
Now, crouch jump and ledge grab onto the right wall Sciser. Depending on its height you may not need a ledge grab.
Now you're almost through - freeze the Skultera and UWJ up on top of it.
Once you're on top, it's just a quick hop to the left and you're safe.
The Home Stretch
You're already through the hard part, the rest of the ascent to get to Mt. Everest is very forgiving, as long as you haven't used all your supers and don't accidentally kill a Sciser.
There's one last big opportunity for failure, as you need to freeze a Sciser midair again if you want to make the jump up to the first ledge, and it will crawl away and back down the bottleneck if you let it land. Wait for the Sciser on the right to crawl over on the ceiling. If it isn't far enough to the left, get as far right on the ledge as you can to make sure it can come over. When it's on the little corner, knock it down and freeze it a bit below the height of the ledge on the left that you want to get up to. Crouch jump and ledge grab onto it. If you freeze it a bit high, you can use the little slope in the left hand corner to gain a bit of extra height.
Hop to the left and you're up. Jump up here and you'll be able to load a new Sciser towards the top of the screen. Tenderize it as it's crawling down. You should knock it down to the lower level once it gets to the wall to your right.
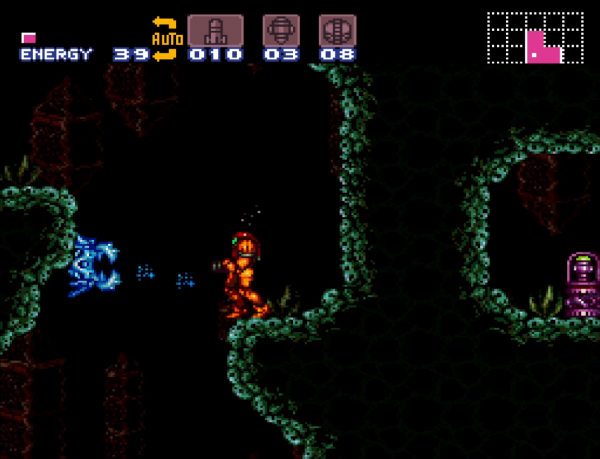
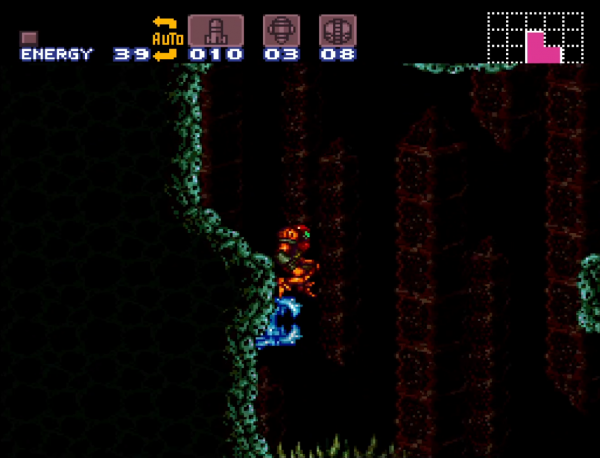
Unlike the other Sciser, this one will crawl to the left, making it very helpful. Wait for it to crawl a little bit up the wall to your left, freeze it, and spin jump to the next ledge on your right, above the Missile pack. You need to wait for it to climb further up the left hand wall and freeze it again so you can jump off of it to the next ledge above you. Be careful not to let it get too far up, but if it does you can knock it back down with a Super Missile. You want to let it just barely round over the corner in front of you before freezing it.
You need to get a fair bit of height, so use a crouch jump and a ledge grab to ensure you can get up to it. The squeeze is pretty tight, so you need to be careful of getting clipped through the frozen Sciser. Avoid walking too far left or this will be your fate. If you froze it at the right height, you can spin jump over to the ledge at your right.
You can make the next jump easily by waiting for the Sciser and freezing it as it scales part way up the ledge.
Jump onto it and jump up from it right onto the ledge. Climb up the left hand wall with the Sciser.
Once you make it far enough up, you'll be able to do a running spin jump to make it to the ledge at the right without any hassle. You can freeze the Skultera or the Sciser to get up to the next ledge. For the final jump, use the Sciser to climb up the left hand wall again and spin jump to the final ledge at the right.
You are now at the door to Mt. Everest.
