Metroid Room 4
| Metroid Room 4 | |
|---|---|
| Zone | Tourian |
| Theme | Tourian |
| Metroid Room 3 | Adjacent rooms | |
|---|---|---|
| Tourian Hopper Room |
Room state 1
Room state 2
This room is also known as Judgment. In many categories, these metroids are the last time you can get the drops you need in order to have enough ammo to continue a run. "Judgment" refers to the RNG gods judging whether your run is worthy of the drops.
Late Game
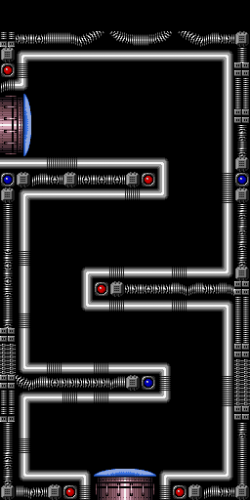
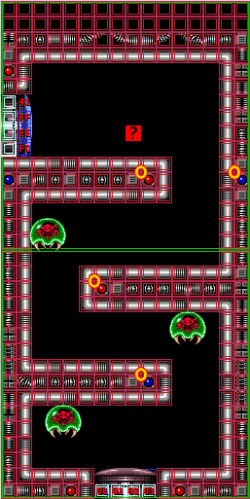
With the exception of high-ammo categories like 100% and GT Classic, most runners will group this last room to conserve Super Missiles in the hopes of having enough for Mother Brain's first phase. This is most commonly done by running off the top platform, hugging the wall and running left off the second platform, soft-morphing as you land, then rolling under the third Metroid before unmorphing.
Freezing the first Rinka as it spawns will prevent it from interfering with Samus at the bottom of the room, helps set up the other Rinkas to do the damage boost through the doorway, and will reduce lag going through the door transition if the damage boost is not used.
Especially in a race setting or Low% run, runners who are low on ammo when they reach this room will often kill the first two metroids, then see if they got drops good enough to continue, and reset the room if not. The metroids in each room will respawn as long as at least one was still alive upon leaving the room.
Some runners opt to use the above-mentioned Rinka damage boost if they enter this room low on health since it only costs 10hp. If health is not a consideration, runners will still often choose the Rinka Boost if they use Missiles on the Metroids due to ammo concerns.


