West Ocean
| West Ocean | |||||
|---|---|---|---|---|---|
| Zone | Crateria | ||||
| Subzone | Crateria/East | ||||
| Items |
| ||||
| Bowling Alley Path The Moat |
Adjacent rooms | Attic Bowling Alley Bowling Alley Path/Homing Geemer Room Gravity Suit Room Wrecked Ship Entrance |
|---|---|---|
Contents
Ocean Fly
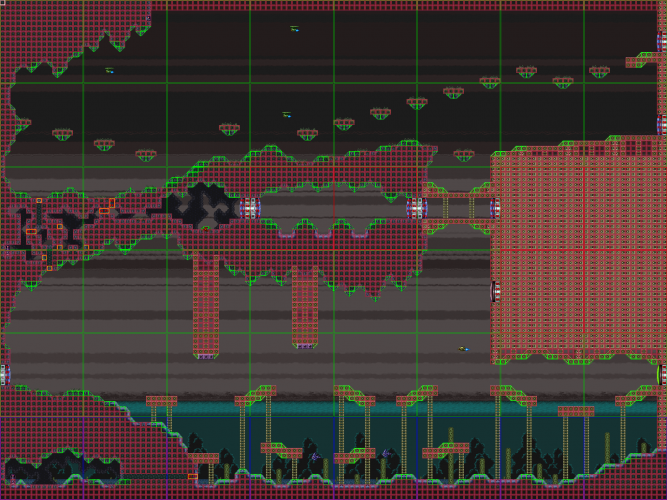
Ocean Fly is a trick that involves performing a shinespark to travel across the entirety of the moat and ocean. It costs ~165 energy when completed, with the shinespark ending at the Wrecked Ship Entrance's green door.
- Charge a shinespark in the Crateria Keyhunter Room
- Carry the shinespark charge to the moat
- Perform a running spinjump towards the center of the moat above the water (try to avoid touching the Missile pack in the center)
- Release the jump button as soon as your desired height has been reached
- Press the shot button
- Press either up on the directional pad or the angle up button quickly after (this activates the shinespark but should not use it (send Samus flying) just yet)
- Release input from up and angle up (whichever you used in the previous step)
- Press the jump button and right on the directional pad (this should send Samus flying directly right)
When executing this shinespark, the door to the ocean is easiest to open with a Super Missile, but the door can be opened by a Missile and even a beam shot depending on how far forward you are and at what time you activate and use the shinespark. Supers are in short supply for this segment especially in 100%, so using one here might mean you need to use missiles on the Eye Door leading to Phantoon.
When executed correctly, Samus should fly through the door connecting the moat to the ocean the moment the projectile causes it to open. Having the door open for Samus to fly through is the most difficult aspect of this shinespark.
If you do a two-spark, either because you chose to or failed Ocean Fly, you can make the second spark fairly high, and it will bonk on the wall below the door to Gravity Suit Room. This saves about 35 health, at the cost of a few seconds.
Alternatively, starting the spark further right also helps to save health.
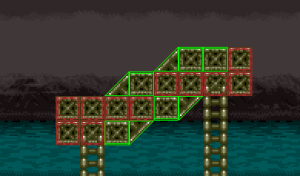
When doing the two-spark, because of the exact geometry of blocks that make up the sloped platform, it's possible to bonk a horizontal spark on it. This is because a horizontal shinespark travels 15 pixels per frame, and while collision checks the front edge of Samus' hitbox, the routine that adjusts Samus' height based on slopes uses the middle of the hitbox, and comes after the collision check. So if her position is such that her center is on the right side of the "triangle" slope block, she will not be pushed entirely above that row of blocks, and will collide with the solid block on the next frame.
100%
To collect the top "Sky Missile", the easiest method is to use a diagonal shinespark launched from the isolated floating island, but this does cost both the time of the crash animation, and has a health cost as well.
Optimally, you can jump up from the top of the ridge, and arrest your horizontal momentum at the right moment to hit the missile location.
Randomizer
The "intended" strat is to ride the Trippers in succession to the upper missile location, so while this is tedious, it may be in logic. This is especially time-consuming because the Trippers only move when they're on-screen.
Walljumping off of the Trippers is finicky, because you will easily kago inside of them. If you're having trouble with this, it might be easier to follow the top Tripper all the way to the right-hand wall, and then walljump up to it there.

