Difference between revisions of "Grapple Tutorial Room 3"
From A complete guide to Super Metroid speedrunning
(GGG possible here for rando) |
m |
||
| (4 intermediate revisions by 2 users not shown) | |||
| Line 1: | Line 1: | ||
| + | {{Infobox room | ||
| + | |zone = Norfair | ||
| + | |subzone = Crocomire | ||
| + | }} | ||
{{Adjacent rooms | {{Adjacent rooms | ||
|west=[[Grapple Tutorial Room 2]] | |west=[[Grapple Tutorial Room 2]] | ||
| Line 10: | Line 14: | ||
== Randomizer == | == Randomizer == | ||
| − | Performing a [[Green Gate Glitch]] in this room allows access to the [[Grappling Beam]] location without needing to traverse [[Post Crocomire Jump Room]]. | + | Performing a [[Green Gate Glitch]] in this room allows access to the [[Grappling Beam]] location without needing to traverse [[Post Crocomire Jump Room]]. For harder difficulty randomizers, this could be in logic. |
| + | |||
| + | Depending on the logic, you might be required to leave the area through this room if Morph is locked by whatever's at the Grapple location. One solution is to [[damage boost]] across the gaps. | ||
| + | |||
| + | {{#ev:youtube|cjXUpVLbJhg}} | ||
| + | |||
| + | == Enemies == | ||
| + | |||
| + | * [[Puyo]] | ||
| + | * [[Gamet]] | ||
Latest revision as of 03:29, 28 November 2023
| Grapple Tutorial Room 3 | |
|---|---|
| Zone | Norfair |
| Subzone | Norfair/Crocomire |
| Grapple Tutorial Room 2 | Adjacent rooms | Post Crocomire Shaft |
|---|---|---|
Randomizer
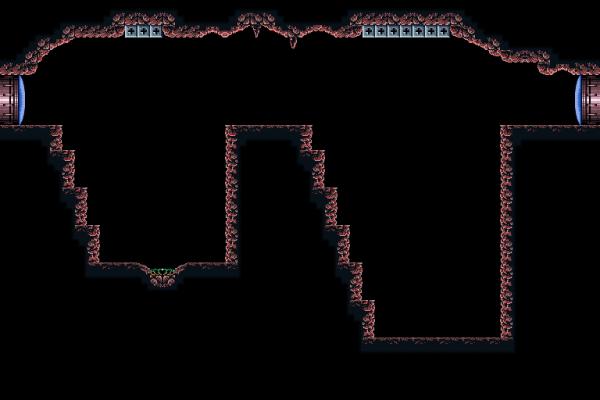
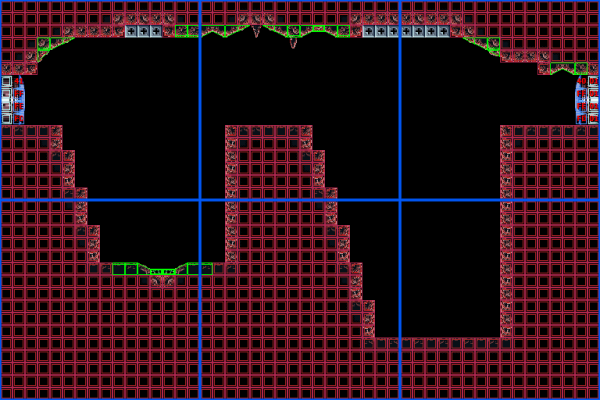
Performing a Green Gate Glitch in this room allows access to the Grappling Beam location without needing to traverse Post Crocomire Jump Room. For harder difficulty randomizers, this could be in logic.
Depending on the logic, you might be required to leave the area through this room if Morph is locked by whatever's at the Grapple location. One solution is to damage boost across the gaps.

